Watercolor Step-by-Step Tutorial⁚ A Beginner’s Guide
This comprehensive guide will walk you through the essentials of watercolor painting‚ from gathering supplies to framing your finished masterpiece. Whether you’re a complete novice or looking to refine your skills‚ these step-by-step instructions will equip you with the knowledge and confidence to create stunning watercolor artworks.
1. Gather Your Supplies
Before embarking on your watercolor journey‚ you’ll need to assemble a few essential tools. These include⁚
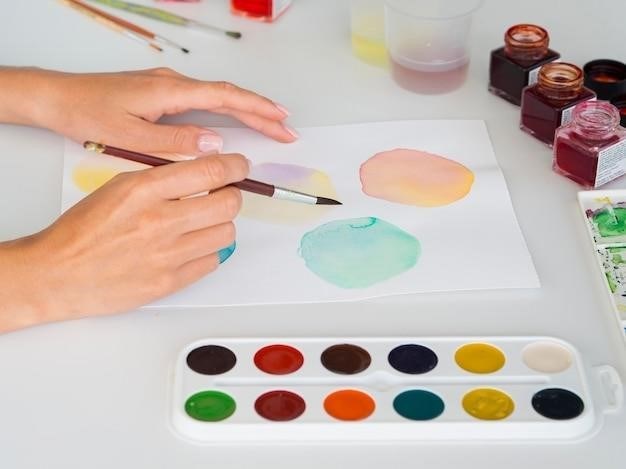
- Watercolor Paints⁚ Opt for a set of watercolor paints that includes a variety of colors. You can choose between tubes or pans‚ depending on your preference.
- Watercolor Paper⁚ Watercolor paper is designed to withstand the wetness of watercolor paints. Choose a paper with a good weight‚ such as 140 lb or 300 gsm.
- Brushes⁚ You’ll need a variety of brushes‚ including round brushes for detail work and flat brushes for covering larger areas.
- Water Container⁚ You’ll need a container to hold water for rinsing your brushes and diluting your paints.
- Palette⁚ A palette is a surface for mixing your paints. You can use a plastic palette or a piece of ceramic tile.
- Masking Tape⁚ Masking tape can be used to secure your paper to your work surface and to create clean edges.
- Pencil⁚ You’ll need a pencil for sketching your design onto the paper.
- Eraser⁚ An eraser is essential for removing any unwanted pencil marks.
Once you have gathered your supplies‚ you’re ready to move on to preparing your workspace.
2. Prepare Your Workspace
Creating a dedicated and organized workspace is crucial for a successful watercolor painting experience. Here’s how to set up your painting area⁚
- Choose a well-lit area⁚ Natural light is ideal for watercolor painting‚ as it allows you to see the colors accurately. If you’re working indoors‚ position yourself near a window or use a desk lamp.
- Protect your surface⁚ Cover your work surface with a protective layer‚ such as a tablecloth or plastic sheet‚ to prevent any spills or paint splatters from damaging it.
- Arrange your supplies⁚ Organize your watercolor paints‚ brushes‚ water containers‚ and other materials in a way that is convenient for you. This will help you work efficiently and avoid any unnecessary clutter.
- Ensure adequate ventilation⁚ Watercolor paints contain pigments that can release fumes‚ so it’s important to work in a well-ventilated area. Open a window or use a fan to circulate the air.
With a prepared workspace‚ you’ll be able to focus on the creative process without distractions.
3. Sketch Your Design
Before diving into the vibrant world of watercolors‚ it’s essential to have a clear vision of your artwork. This is where sketching comes in. A well-executed sketch serves as a blueprint for your painting‚ guiding your brushstrokes and ensuring a harmonious composition. Here’s how to create a successful sketch⁚
- Choose your medium⁚ A pencil‚ charcoal‚ or even a light-colored watercolor pencil can be used for sketching. Select a medium that allows you to make light and easily erasable lines.
- Light and loose⁚ Don’t be afraid to make mistakes! Focus on capturing the essence of your subject—its form‚ proportions‚ and flow—rather than creating a perfect replica. Keep your lines light and loose‚ allowing for flexibility as you progress.
- Pay attention to composition⁚ Consider the placement of your subject within the frame. Use visual balance and create a sense of depth and interest. Avoid placing the subject directly in the center of the paper; experiment with off-center compositions.
- Don’t be afraid to experiment⁚ Try different perspectives‚ angles‚ and details to find the most captivating representation of your subject. This is your opportunity to explore and discover the most compelling version of your design.
With a solid sketch as your foundation‚ you’ll have a confident starting point for your watercolor journey.
4. Wet the Paper
Watercolor painting is all about embracing the dance between water and pigment. Wetting your paper before applying paint is a fundamental technique that unlocks a world of possibilities. It allows for soft‚ blended washes‚ vibrant color transitions‚ and a unique‚ ethereal quality. Here’s how to master the art of wet-on-wet⁚
- Choose your water⁚ Tap water is generally fine‚ but distilled water is preferred for its purity. Avoid using overly hard water‚ as it can leave mineral deposits on your paper.
- Apply the water⁚ Use a brush or a clean sponge to evenly wet the entire surface of your paper. The amount of water you use will determine the intensity of the wash. For a lighter wash‚ use less water; for a more intense wash‚ use more water.
- Timing is key⁚ The paper should be damp but not dripping wet. The ideal time to apply paint is when the paper has absorbed some of the water and has a slightly sheen appearance.
- Experiment with variations⁚ You can wet the entire paper or just specific areas. You can also create interesting effects by using a spray bottle to mist the paper or by applying water in varying degrees of saturation.
With a bit of practice‚ you’ll discover the magic of wet-on-wet and unlock a whole new dimension of watercolor artistry.

5. Lay Down Your Base Colors
Now it’s time to bring your vision to life with a vibrant palette! Laying down your base colors is the foundation of your watercolor artwork. This step sets the stage for subsequent layers‚ details‚ and highlights. Here’s how to create a strong foundation with your base colors⁚
- Choose your colors strategically⁚ Consider the overall color scheme and mood you want to achieve. Select colors that complement each other and create a harmonious balance. Don’t be afraid to experiment with different color combinations to find what works best for you.
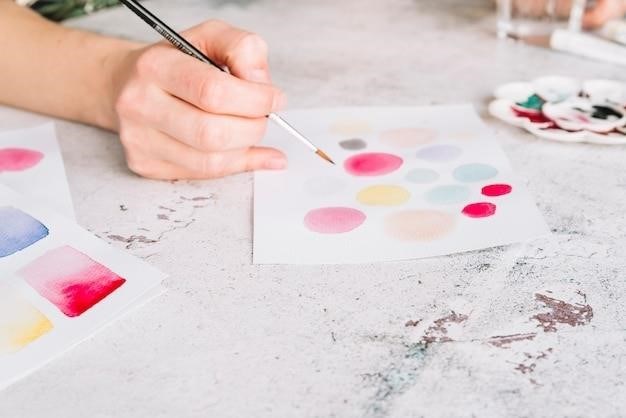
- Start with light washes⁚ Begin by applying thin‚ diluted washes of your base colors. This allows for easy blending and layering in subsequent steps. You can gradually build up the intensity of your colors as you work.
- Work from light to dark⁚ Begin with lighter colors and gradually transition to darker colors. This ensures that you can easily create highlights and shadows later on. Avoid applying dark colors over light colors‚ as this can create a muddy appearance.
- Embrace the flow of water⁚ Watercolor is about embracing the fluidity of water and pigment. Allow the paint to blend naturally‚ and don’t be afraid to let the water guide your brushstrokes.
Laying down your base colors is a crucial step in watercolor painting. With careful planning and a light touch‚ you’ll create a foundation that will support a truly remarkable artwork.
6. Add Details and Highlights
Now that your base colors are laid down‚ it’s time to breathe life into your painting by adding details and highlights. This is where you can truly showcase your artistic vision and create a sense of depth and dimension. Here’s how to add those finishing touches⁚
- Use a finer brush⁚ Switch to a smaller‚ more precise brush to add intricate details and highlights. This allows you to control the flow of paint and create sharp lines and delicate strokes.
- Emphasize key elements⁚ Identify the most important elements of your painting‚ such as the eyes of a portrait‚ the petals of a flower‚ or the reflection of light on a surface. Use a brighter or more concentrated color to draw attention to these features.
- Create contrast⁚ Use a contrasting color to highlight specific areas. For example‚ if you’re painting a flower‚ you could use a darker shade of green to define the edges of the petals.
- Don’t be afraid to experiment⁚ Watercolor is a forgiving medium‚ so feel free to experiment with different techniques and colors to find what works best for you. You can use a dry brush technique to create texture‚ or a wet-on-wet technique to create soft‚ blended edges.
Adding details and highlights is a crucial step in elevating your watercolor painting from ordinary to extraordinary. With a little patience and creativity‚ you can transform your artwork into a true masterpiece.
7. Blend and Soften Edges
Blending and softening edges in watercolor painting is an essential technique for creating a harmonious and visually appealing composition. By seamlessly transitioning colors and blurring defined lines‚ you can achieve a more natural and realistic look. Here are some tips for mastering this art⁚
- Wet-on-wet technique⁚ Apply a layer of wet paint onto another wet layer of paint. This allows the colors to blend naturally‚ creating soft transitions and diffused edges.
- Use a clean brush⁚ A clean‚ damp brush can be used to blend colors together and soften edges. Gently stroke the brush over the areas where you want to create a softer transition.
- Use a soft-edged brush⁚ A soft-edged brush‚ such as a round brush‚ is ideal for blending and softening edges. The rounded shape allows for a more controlled and gradual transition of color.
- Add water⁚ If you want to further soften an edge‚ you can add a drop of water to the brush and gently blend the area. This will create a more diffused and ethereal effect.
Blending and softening edges is a skill that develops with practice. Don’t be afraid to experiment and find what works best for you. With a little patience and attention to detail‚ you can create stunning watercolor paintings with a beautiful and harmonious flow of color.
8. Create Depth with Shadows
Adding shadows to your watercolor painting is crucial for creating depth‚ dimension‚ and realism. Shadows help to define forms‚ create a sense of three-dimensionality‚ and add visual interest to your artwork. Here’s how to incorporate shadows effectively⁚
- Observe real-life shadows⁚ Before you start painting‚ take time to observe how shadows behave in real life. Notice their shape‚ direction‚ and how they change depending on the light source.
- Use a darker shade⁚ Shadows are typically darker than the surrounding areas. Choose a darker shade of your base color‚ or a complementary color‚ to create the shadows.
- Layer gradually⁚ Build up the shadows gradually‚ using light washes of color at first and gradually adding more layers to create depth. Avoid painting the shadows too dark in one go‚ as this can make them look flat and unnatural.
- Soft edges⁚ Shadows often have soft edges. Use a wet-on-wet technique or a clean brush to blend the edges of the shadows‚ creating a more natural and realistic look.
Remember‚ shadows are an integral part of creating a convincing and captivating watercolor painting. By incorporating them thoughtfully‚ you can transform your artwork from flat and lifeless to dynamic and full of depth.
9. Add Splatters for Interest
Splatters can add a touch of whimsy‚ energy‚ and visual interest to your watercolor paintings. They can be used to create a variety of effects‚ from subtle textures to bold statements. Here’s how to add splatters effectively⁚
- Choose your splatter tool⁚ You can use a variety of tools to create splatters‚ including a toothbrush‚ a straw‚ or even your fingers. Experiment with different tools to see what effects you can achieve.
- Control the size and density⁚ The size and density of your splatters will depend on the effect you want to create. For subtle textures‚ use a light touch and a small amount of paint. For bolder effects‚ use more paint and a heavier hand.
- Experiment with colors⁚ You can use the same color as your main painting‚ or try different colors to create contrast and visual interest.
- Consider the background⁚ The background of your painting will affect how the splatters look. If you’re painting on a dark background‚ light-colored splatters will stand out. If you’re painting on a light background‚ dark-colored splatters will be more visible.
Splatters are a fun and easy way to add personality and dynamism to your watercolor paintings. Experiment with different techniques and see what creative effects you can achieve.
10. Let Your Painting Dry

Patience is key when it comes to watercolor painting. Allowing your painting to dry thoroughly is crucial for several reasons. First‚ it prevents smudging and smearing‚ ensuring your carefully created details remain intact. Second‚ it allows the colors to fully settle and blend‚ revealing their true vibrancy and depth. Third‚ it prevents the paper from warping or buckling‚ which can occur if the paint is still wet when handled.
The drying time for watercolor paints depends on several factors‚ including the thickness of the paint layer‚ the humidity‚ and the type of paper used. Generally‚ it can take anywhere from a few minutes to several hours for a watercolor painting to dry completely. To expedite the process‚ you can use a hairdryer on a low setting or place your artwork in a well-ventilated area. However‚ be cautious not to use excessive heat‚ as it can damage the paper or paint.
Once your painting is dry‚ you can assess it and decide whether any further adjustments are needed. You may want to add additional details‚ blend edges‚ or create highlights. But remember‚ watercolor is a forgiving medium‚ and sometimes the beauty lies in the imperfections. Enjoy the process of creating and the journey of discovery that watercolor painting offers.
11. Frame and Display Your Artwork
Framing your watercolor painting is the final touch that elevates your artwork and showcases its beauty. It not only protects the delicate paper from damage but also enhances its visual appeal. Choose a frame that complements the colors and style of your painting. A simple‚ matted frame is a classic choice‚ while a more ornate frame can add a touch of elegance. Ensure that the frame is sturdy and has a glass or acrylic cover to shield your artwork from dust and scratches.
Once your painting is framed‚ find a prominent place to display it in your home or office. Consider the lighting and background to create a visually appealing setting. You can also use a decorative easel to display your artwork on a table or shelf. Don’t be afraid to experiment with different placements until you find the perfect spot that complements your painting and your personal style.
Remember that your watercolor painting is a testament to your creativity and skill. Take pride in your work and enjoy the satisfaction of having created a beautiful piece of art. Share your artwork with others and inspire them to explore the world of watercolor painting. The journey of creating art is just as rewarding as the final masterpiece itself.


