This watercolor tutorial will guide you through the steps of painting a beautiful and realistic pumpkin using watercolors. You’ll learn how to sketch the pumpkin, lay down the base color, add depth and dimension, create highlights, and add details. We’ll also explore color palette ideas, common mistakes to avoid, and variations on the classic pumpkin design.
Materials
To embark on your watercolor pumpkin painting journey, you’ll need a few essential supplies. First and foremost, gather your watercolor paints. A basic set with a variety of yellows, oranges, and browns will suffice. For this tutorial, we recommend using a medium brush (size 5 or 8), a small brush (size 1, 2, or 4), and a flat brush for different effects. Sable brushes are ideal for achieving a professional look. Choose your watercolor paper carefully, as it will significantly impact the outcome. Both hot and cold pressed paper are suitable for this project. To sketch your pumpkin, you’ll need a pencil and eraser. Finally, a palette for mixing your paints and a container of water will complete your watercolor toolkit.
Sketching the Pumpkin
Start by sketching your pumpkin lightly on your watercolor paper using a pencil. Don’t worry about making it perfect, as you’ll be covering the sketch with paint. Pay attention to the overall shape of the pumpkin, including the rounded body and the stem at the top. Use light, sketchy lines to create the outline and the ridges on the pumpkin’s surface. These lines will guide your painting process and help you to create a realistic look. Remember, your sketch is just a guide, so don’t be afraid to adjust it as you go along. Once you’re satisfied with your sketch, you can lightly erase any lines that you don’t want to show through the paint.

Laying Down the Base Color
Now it’s time to start painting! Begin by mixing a light wash of yellow ochre or a similar warm yellow. This will be your base color for the pumpkin. Use a medium-sized brush and apply the wash evenly over the entire pumpkin shape, leaving a small area at the top for the highlight. You can use a damp brush to soften the edges of the paint and blend it out for a smooth transition. Allow the yellow wash to dry completely before moving on to the next step. This will prevent the colors from bleeding into each other and creating unwanted muddy tones. Remember, the base color sets the foundation for the rest of your painting, so take your time and ensure it’s evenly applied.
Adding Depth and Dimension
To give your pumpkin a more realistic look, you’ll need to add depth and dimension. Start by mixing a darker orange color by adding a touch of brown or a bit of burnt sienna to your base yellow ochre. Using a smaller brush, carefully paint along the edges of the pumpkin’s ridges, focusing on the areas where shadows would naturally fall. Use a light touch and let the darker color blend into the lighter base. This creates a gradual transition that adds depth. You can also use a darker orange to paint a subtle shadow beneath the pumpkin, further enhancing the three-dimensional effect. Don’t be afraid to experiment with different shades of orange to create a nuanced and interesting color scheme. Remember, adding depth and dimension is about subtle variations in color, not stark contrasts. Take your time and let the washes dry between each layer for optimal results.
Creating Highlights
Highlights are essential for adding realism and vibrancy to your watercolor pumpkin. To create highlights, you’ll need a white gel pen or white gouache paint. Once your base layers are dry, carefully outline the top of each ridge on your pumpkin with a white gel pen or a fine brush loaded with white gouache. This creates a subtle shine and emphasizes the shape of the pumpkin. You can also add a few white dots or dashes around the edges of the pumpkin to represent highlights from a light source, such as the sun. Remember to apply the white highlights sparingly, as too much white can make the pumpkin look unnatural. If you’re using gouache, make sure to let it dry completely before adding any further details. By adding highlights, you’ll bring your pumpkin to life and give it a more polished look.
Adding Details
Adding details to your watercolor pumpkin elevates it from a simple shape to a captivating work of art. Once your base colors and highlights are dry, you can start adding subtle details that bring your pumpkin to life. This could involve adding a stem at the top of the pumpkin. Use a dark brown or green watercolor to paint a small, slightly curved stem, adding texture with a few brushstrokes. If you’re feeling adventurous, you can even incorporate some leaves or vines around the stem, adding a touch of autumnal charm. Another way to add detail is by creating small imperfections in the pumpkin’s surface. This can be achieved by adding subtle shadows around the ridges or by using a lighter shade of orange to create a slightly uneven texture. For an extra touch of realism, you can create a small, white highlight on the stem to mimic sunlight. Remember, details should be subtle and enhance the overall composition of your pumpkin, adding depth and interest to your painting.
Tips for Beginners
Watercolor painting can be a rewarding but sometimes challenging art form, especially for beginners. Don’t be discouraged if your first pumpkin doesn’t look exactly as you envisioned. Remember that practice makes perfect, and watercolor painting is all about embracing imperfections. Here are a few tips to help you navigate the world of watercolor pumpkins⁚ Start with a simple sketch. Use light pencil lines to outline your pumpkin’s shape. Don’t worry about making it perfect; it’s just a guide. Don’t be afraid to use water. Watercolor is all about blending and creating soft transitions. Experiment with different brushstrokes. Use a combination of wet-on-wet and wet-on-dry techniques to create depth and texture. Don’t be afraid to make mistakes. If you make a mistake, simply let the paint dry and then try again. Have fun! Watercolor painting should be enjoyable. Experiment with different colors, techniques, and styles. Embrace the unexpected and enjoy the process of creating something beautiful.
Color Palette Ideas
The beauty of watercolor lies in its ability to create a range of hues and shades. When it comes to pumpkins, there are endless color palette possibilities beyond the classic orange. Here are a few ideas to inspire your creativity⁚ For a vibrant autumnal feel, explore combinations of burnt orange, deep red, and golden yellow. Add touches of brown for added depth and dimension. For a more whimsical touch, try incorporating pastel colors like soft pink, lavender, and light blue. If you want to create a more rustic feel, use earthy tones like ochre, umber, and sienna. For a contemporary look, play with contrasting colors like black, white, and shades of gray. Don’t be afraid to experiment and find your own unique color combinations. Remember, the key is to have fun and let your creativity shine!
Common Mistakes to Avoid
Even experienced artists make mistakes, and watercolor painting can be especially tricky for beginners. Here are a few common pitfalls to avoid⁚ Overworking the paint⁚ Watercolor thrives on its transparent nature. Resist the urge to add too many layers, as this can muddy the colors and obscure the details. Using too much water⁚ Too much water can dilute the paint and make it difficult to control. Start with a small amount of water and add more as needed. Not letting the paint dry completely⁚ Ensure that each layer of paint is fully dry before adding the next. This prevents colors from bleeding together and creating an undesirable effect. Forgetting to leave highlights⁚ Remember to leave some white areas in your painting to represent highlights. This adds depth and dimension to your pumpkin. Don’t be afraid to experiment and learn from your mistakes. With practice and patience, you’ll become more confident in your watercolor skills.
Watercolor Pumpkin Variations
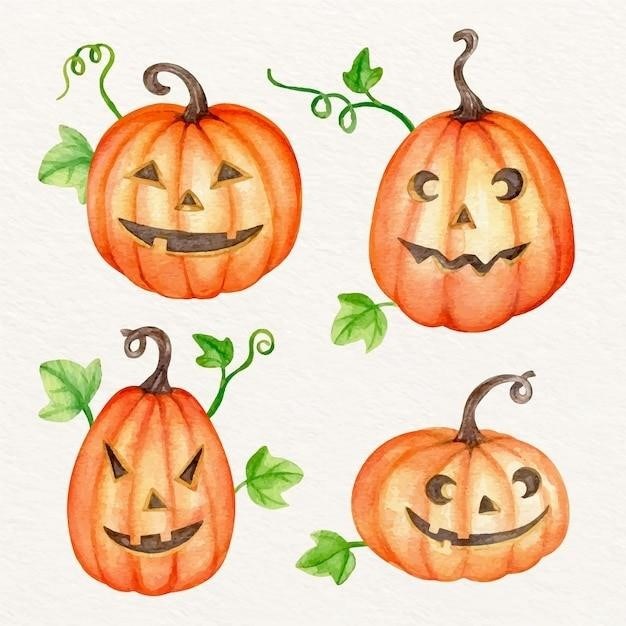
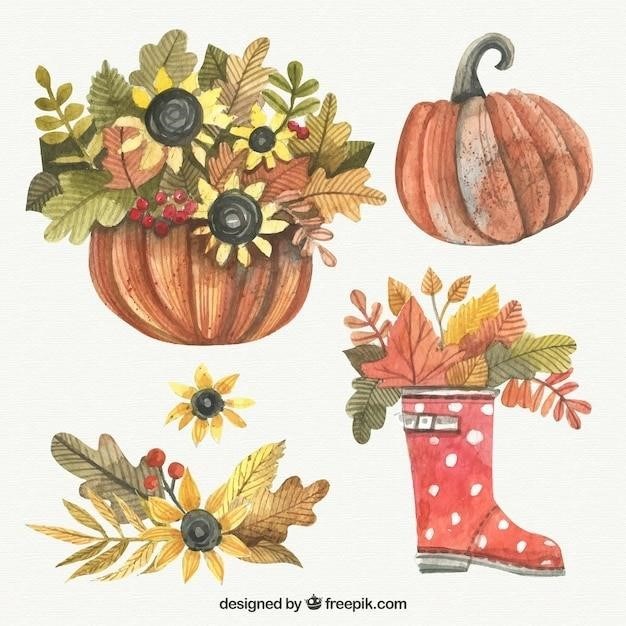
Once you’ve mastered the basics of painting a classic pumpkin, you can explore endless variations to create unique and eye-catching designs. Try painting a variety of pumpkin shapes and sizes, from small and squat to tall and slender. Experiment with different color palettes, incorporating shades of green, blue, purple, or even black for a more abstract look. Add details like leaves, vines, and stems to enhance the realism of your pumpkins. For a whimsical touch, paint whimsical faces or patterns on your pumpkins. You can also try incorporating other fall elements into your paintings, such as acorns, leaves, or gourds. Don’t be afraid to get creative and let your imagination run wild. The possibilities are endless when it comes to watercolor pumpkin variations.

Painting a watercolor pumpkin is a fun and rewarding experience, whether you’re a beginner or a seasoned artist. With a few simple steps and some practice, you can create beautiful and unique pumpkins that will brighten up your home or make a thoughtful gift. Remember to experiment with different techniques, colors, and details to discover your own style. Don’t be afraid to make mistakes – they’re part of the learning process. Most importantly, have fun and enjoy the process of creating art! As you continue to practice, you’ll be amazed at how much progress you make. So grab your watercolors and let your creativity flow. Happy painting!


