Introduction to Brother Sewing Machines
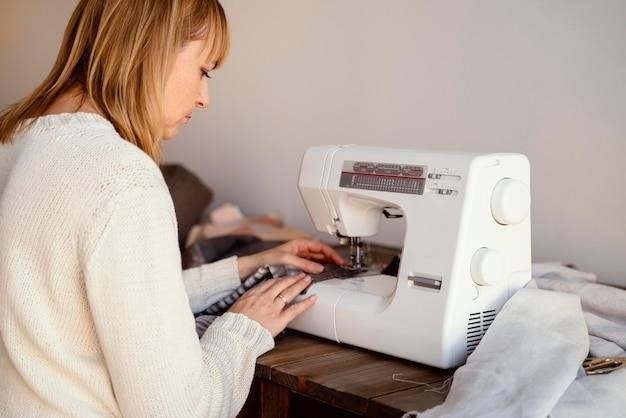
Brother sewing machines are known for their reliability, ease of use, and wide range of features. Whether you’re a beginner or a seasoned sewer, Brother has a machine to suit your needs and skill level. Brother sewing machines are designed to be user-friendly, with intuitive controls and clear instructions. They come with a variety of built-in stitches and functions, and many models offer advanced features like automatic needle threading and embroidery capabilities.
Why Choose a Brother Sewing Machine?
Brother sewing machines offer a compelling combination of features that make them a popular choice for sewers of all levels. Their reputation for reliability ensures that your machine will be there for you when you need it, while their user-friendly design makes them accessible even for beginners. Brother machines often come equipped with a variety of built-in stitches and functions, allowing you to tackle a wide range of projects. Many models also boast advanced features such as automatic needle threading and embroidery capabilities, adding to their versatility and convenience. Ultimately, Brother sewing machines provide a balance of quality, functionality, and ease of use that makes them a great choice for any sewer.
Brother Sewing Machine Models⁚ A Quick Overview
Brother offers a diverse range of sewing machines to suit various needs and skill levels. From basic mechanical models like the Brother RL425, ideal for simple projects and repairs, to advanced computerized machines like the Brother FS70WTS, perfect for quilting and intricate designs, there’s a Brother machine for everyone. Their line includes models specifically designed for beginners, like the Brother LS14, featuring a user-friendly interface and basic functions. For those venturing into embroidery, Brother offers machines like the Brother SE600, equipped with a large embroidery area and a wide array of designs. Brother also caters to quilters with specialized models like the Brother PQ1500SL, boasting a wide table and advanced quilting features. No matter your sewing ambitions, Brother has a machine that can help you achieve your goals.
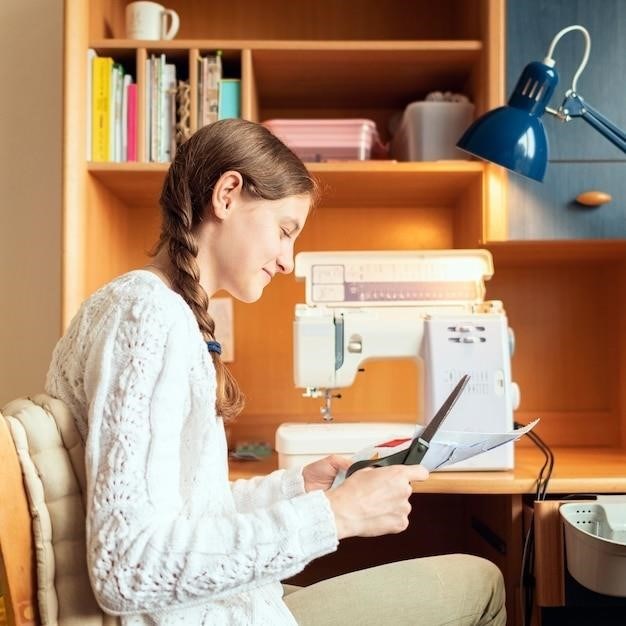
Getting Started with Your Brother Sewing Machine
Once you have your new Brother sewing machine, it’s time to get acquainted with its features and functions. Setting up your machine correctly is crucial for a smooth and enjoyable sewing experience.
Unboxing and Setting Up Your Machine
Opening the box of your new Brother sewing machine is an exciting moment. It’s like unwrapping a gift that promises creative possibilities. Take your time, carefully unpacking all the components. You’ll find the machine itself, a foot pedal, an instruction manual, a few sewing needles, and possibly some additional accessories.
Start by placing the machine on a flat, stable surface, like a table or countertop. Make sure the area is well-lit and free of clutter. Unwind the power cord and plug it into a nearby outlet. Then, connect the foot pedal to the machine using the provided cord. You’ll be amazed at how easy it is to get started. Just follow the instructions in your user manual, and you’ll be ready to sew in no time.
Threading Your Brother Sewing Machine
Threading your Brother sewing machine might seem daunting at first, but it’s actually quite straightforward. Start by raising the presser foot lever, which will lift the needle to its highest position. Locate the spool pin, which is usually on the top of the machine, and place your spool of thread on it. Guide the thread through the thread guide on the spool pin, then down to the tension discs.
The tension discs help control the tightness of your stitch, so it’s important to make sure the thread is passing through them correctly. Next, guide the thread around the thread guide above the needle, and then down through the needle itself. Make sure the thread goes through the hole from front to back. Finally, pull on the thread tail to ensure it’s threaded properly. You’re now ready to start sewing!
Basic Sewing Techniques
Mastering basic sewing techniques is crucial for any sewing project. Start with straight lines, then move on to curves and buttonholes, building confidence and skill along the way.
Sewing Straight Lines
Sewing straight lines is the foundation of sewing. It’s the first technique you should master before moving on to more complex stitches.
Start by choosing the appropriate stitch for your fabric. For most general sewing projects, a straight stitch is ideal.
Adjust the stitch length to suit your fabric. A shorter stitch length is better for delicate fabrics, while a longer stitch length is appropriate for heavier fabrics.
Place your fabric under the presser foot, ensuring it is aligned with the needle and the edge of the foot.
Lower the presser foot and begin sewing slowly, keeping your fabric straight and even.
Maintain a steady speed and rhythm as you sew. Pulling or pushing the fabric can cause the stitches to be uneven.
Practice sewing straight lines on scrap fabric before moving to your actual project. This will help you gain confidence and get a feel for your machine.
Sewing Curves
Sewing curves can be a bit trickier than straight lines, but with practice, you’ll be able to create smooth, beautiful curves.
Choose a stitch that is appropriate for your fabric and the type of curve you are sewing. A straight stitch is generally good for most curves, but you might want to experiment with a zigzag stitch for more flexibility.
Adjust the stitch length based on the size of your curve. A shorter stitch length is often better for sharp curves, while a longer stitch length can work for gentle curves.
Guide your fabric around the curve as you sew, using your hands to gently ease the fabric along the path of the needle.
Maintain a steady speed and try to keep the pressure on the foot consistent. Don’t pull or push the fabric too hard, as this can distort the curve.
Practice sewing curves on scrap fabric before tackling your project. This will help you get the hang of guiding the fabric around the curve and maintaining even stitches.
When sewing a sharp curve, you can use a seam ripper to gently ease the fabric around the curve. This will help to avoid puckering and ensure a smooth finish.
Sewing Buttons
Sewing buttons is a simple but essential sewing technique. Whether you’re attaching buttons to a shirt, a jacket, or a dress, a Brother sewing machine can make the task quick and easy.
Start by selecting a buttonhole stitch on your sewing machine. Most Brother sewing machines come with a variety of buttonhole stitches, so choose one that matches the size and shape of your button.
Adjust the stitch length and width according to the size of your button. A shorter stitch length will create a more secure buttonhole.
Place the buttonhole foot on your sewing machine. This foot helps to guide the fabric and create a clean, even buttonhole.
Position the fabric under the needle, aligning the buttonhole foot with the edge of the fabric. Lower the presser foot and sew a buttonhole according to the instructions in your sewing machine manual.
Once you’ve sewn the buttonhole, remove the fabric from the machine. Use a seam ripper to gently cut the buttonhole open if it is too tight.
Sew the button onto the garment, using a strong thread and a buttonhole stitch or a simple straight stitch.
Secure the button threads by knotting them on the underside of the fabric. Trim any excess thread.
Advanced Sewing Techniques
Once you’ve mastered the basics, explore advanced techniques like using different sewing feet, embroidery, and troubleshooting common sewing machine problems.
Using Different Sewing Feet
Brother sewing machines often come with a variety of presser feet, each designed for a specific sewing task. These feet can significantly enhance your sewing experience and help you achieve professional-looking results. For example, a zipper foot allows for precise stitching near zippers, while a buttonhole foot assists in creating perfectly-sized buttonholes. Other common presser feet include a blind hem foot for invisible hems, a free-motion foot for quilting and embroidery, and a walking foot for sewing thick fabrics. Understanding the different presser feet and their uses will open up a world of sewing possibilities.
Embroidery with a Brother Sewing Machine
Many Brother sewing machines come equipped with embroidery capabilities, allowing you to create intricate designs and personalize your projects. These machines often feature a built-in embroidery module, a hoop for securing the fabric, and a variety of embroidery designs. Brother offers a wide selection of embroidery designs, from simple patterns to complex motifs, that can be downloaded and used with your machine. You can even create your own embroidery designs using specialized software. Embroidery with a Brother sewing machine is a fun and rewarding way to add a personal touch to your clothing, home decor, and more.
Troubleshooting Common Sewing Machine Problems
Even with their reliability, Brother sewing machines can occasionally encounter issues. Common problems include skipped stitches, thread jams, and needle breakage; These problems are often caused by simple factors like improper threading, incorrect needle selection, or a build-up of lint and debris. Brother offers a wealth of resources to help you troubleshoot these problems, including online tutorials, videos, and manuals. Their website and YouTube channel provide step-by-step instructions for diagnosing and resolving common sewing machine issues. With a bit of patience and the right resources, you can quickly get your Brother sewing machine back up and running.

Resources and Further Learning
Brother offers a wealth of resources to help you learn more about sewing and using their machines.
Brother Sewing Machine Manuals and Support
Every Brother sewing machine comes with a comprehensive manual that provides detailed instructions on setup, threading, basic and advanced sewing techniques, troubleshooting, and more. These manuals are available in both printed and digital formats, and you can also find them online on the Brother website. If you have any questions or need assistance with your Brother sewing machine, you can contact Brother customer support through their website, phone, or email. Brother also has a dedicated support section on their website with FAQs, troubleshooting guides, and video tutorials.
Online Tutorials and Videos
The internet is a treasure trove of sewing resources, and Brother sewing machines are no exception. You can find countless online tutorials and videos that cover everything from basic sewing techniques to advanced embroidery projects. Many of these resources are created by experienced sewers and Brother enthusiasts, who share their knowledge and tips to help you master your machine. Popular platforms like YouTube, Pinterest, and sewing blogs offer a wide variety of content, from beginner-friendly guides to in-depth tutorials on specific techniques and projects. These online resources provide a valuable supplement to your Brother sewing machine manual and can help you expand your sewing skills and creativity.
Brother Sewing Blog and Community
Brother offers a dedicated blog and online community for sewing enthusiasts. The Brother Sewing Blog features a wealth of articles, tutorials, and inspiration for sewers of all levels. You can find helpful tips and tricks on various sewing techniques, project ideas, and insights into the world of sewing. The blog also features product reviews, sewing machine maintenance guides, and updates on the latest Brother sewing machine models. The Brother Sewing Community is a forum where you can connect with other Brother sewing machine owners, share your projects, ask questions, and participate in discussions. This online community provides a supportive and informative space for sewing enthusiasts to learn from each other and share their passion for sewing.
