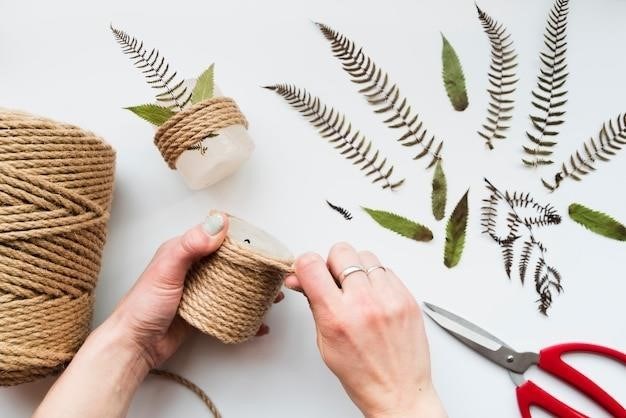
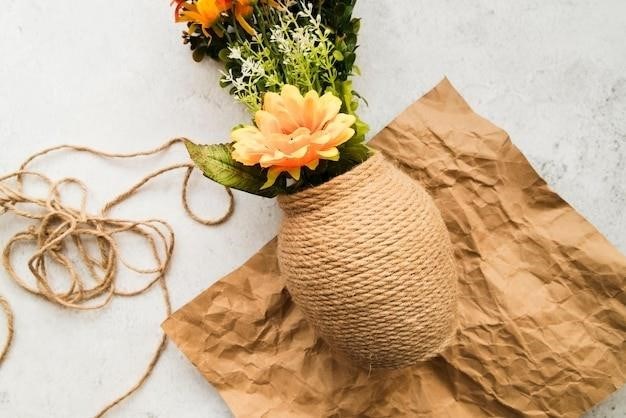
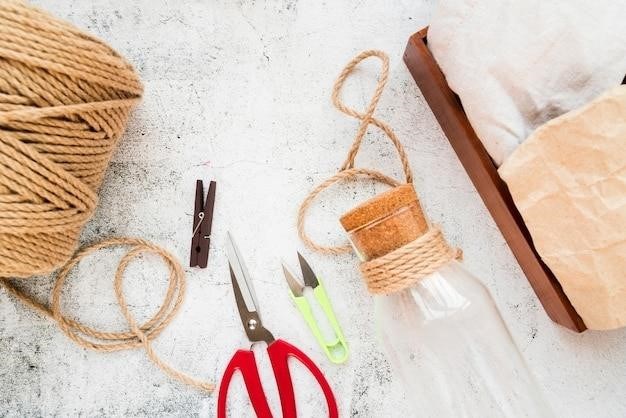
Rope Basket Tutorial⁚ A Comprehensive Guide
Dive into the world of rope baskets and create your own beautiful and functional storage solution․ This comprehensive guide will lead you step by step through the process of crafting a rope basket using various techniques and materials․ From choosing the right rope to adding finishing touches, we’ll cover all the essentials you need to know to make a stunning rope basket that you’ll be proud to display in your home․
Introduction
Welcome to the world of DIY rope baskets! These charming and versatile creations are not only a stylish way to add a touch of rustic elegance to your home but also provide a practical solution for organizing your belongings․ Whether you’re looking to store blankets, toys, or craft supplies, a rope basket is a perfect choice․ The beauty of rope baskets lies in their simplicity․ They require minimal tools and materials, making them an accessible craft project for beginners and seasoned crafters alike․ You can customize your basket’s size, shape, and color to perfectly match your décor and personal style․ The process is rewarding, allowing you to create something unique and functional with your own hands․
In this comprehensive guide, we’ll delve into the art of rope basket making, guiding you through each step with detailed instructions and helpful tips․ We’ll explore different techniques, materials, and design variations, empowering you to create a rope basket that reflects your creativity and meets your specific needs․ So gather your supplies, unleash your inner artist, and let’s embark on this exciting journey of crafting your very own rope basket!
Materials
To embark on your rope basket crafting adventure, you’ll need a few essential materials․ The good news is that many of these can be found at your local craft store or even around your home․ Here’s a list of what you’ll need⁚
- Rope⁚ The heart of your basket! Choose a rope that complements your desired style and size․ Popular options include cotton clothesline rope, jute rope, sisal rope, or even macrame cord․
- Sewing Machine⁚ For most rope basket techniques, a sewing machine is essential to stitch the rope together securely․
- Thread⁚ Opt for a sturdy thread that matches your rope’s color or complements it for a contrasting look․
- Scissors⁚ A sharp pair of scissors is essential for cutting the rope to the desired lengths and trimming any excess․
- Measuring Tape⁚ For accurate measurements, a measuring tape is crucial to ensure your basket turns out the desired size․
- Optional Materials⁚ Depending on your chosen technique and design, you might need additional materials such as hot glue gun, fabric strips, a sturdy base (like a plastic bucket or a cardboard cylinder), or even dye to color your rope․
Now that you have your materials ready, let’s move on to the first step in creating your unique rope basket․
Step 1⁚ Preparing the Rope
Before you start weaving or sewing your rope basket, it’s essential to prepare your rope for a smooth and successful crafting process․ This step involves a few simple but crucial tasks⁚
- Cut the Rope⁚ Depending on the desired size and design of your basket, cut your rope into the required lengths․ If you’re using a sewing machine, you might need to cut the rope into shorter lengths for easier handling․ If you’re using hot glue, you can work with longer lengths․
- Remove the Tape⁚ Most rope comes with a piece of tape on the end to prevent fraying․ Cut the rope just past the tape and discard it․ This will ensure a clean and seamless look for your basket․
- Pre-Wash the Rope⁚ If you’re using cotton clothesline rope, it’s a good idea to pre-wash it before starting your project․ This will help remove any excess dye or chemicals and soften the rope for a more pliable texture․
- Dye the Rope⁚ If you’re looking to add a splash of color to your basket, you can dye the rope before starting․ Use a fabric dye specifically designed for natural fibers and follow the manufacturer’s instructions carefully․
Once you’ve completed these steps, your rope is ready to be transformed into a beautiful and functional basket․ Let’s move on to the next step and begin building the foundation of your masterpiece․
Step 2⁚ Creating the Base
The base of your rope basket is the foundation upon which the entire structure rests․ This is where your creativity and attention to detail come into play․ There are two primary methods for creating the base, each with its own unique benefits⁚
- Sewing Method⁚ This method involves using a sewing machine to create a tightly coiled base․ Start by coiling the rope into a small circle, then sew it together with a zigzag stitch․ Continue adding layers of rope, sewing them securely to the previous layer․ This method offers a secure and durable base, perfect for larger baskets that will hold heavier items․
- Glue Gun Method⁚ For a quicker and simpler approach, use a hot glue gun to create the base․ Start by folding over one end of your rope and securing it with a line of hot glue․ Continue coiling the rope, applying hot glue at regular intervals to secure each layer․ This method is ideal for smaller baskets or for those who prefer a faster crafting experience․
Regardless of the method you choose, ensure that the base is strong and even, as it will determine the overall shape and stability of your basket․ Take your time, be meticulous, and don’t hesitate to experiment with different techniques to find what works best for you․
Step 3⁚ Building the Walls

Now that you have a sturdy base, it’s time to build the walls of your rope basket․ This is where the basket truly takes shape and begins to resemble its final form․ Again, you have a choice of methods to achieve this⁚
- Sewing Method⁚ Continue coiling the rope around the base, sewing each layer securely to the previous one․ As you build the walls, gradually increase the diameter of the coil to create the desired height and shape․ You can use a ruler or measuring tape to ensure consistent wall thickness and a uniform look․ This method allows for precise control and ensures a strong, durable structure․
- Glue Gun Method⁚ For a more free-flowing approach, use the hot glue gun to attach each layer of rope to the base and to the previous layer․ As you build up the walls, you can adjust the shape and size of the basket by carefully manipulating the rope as you glue it in place․ This method allows for more creative freedom and can be a fun way to add unique curves and angles to your basket․
Remember to work slowly and carefully, ensuring that each layer is securely attached to prevent the basket from unraveling․ You can also experiment with different rope patterns and textures to add visual interest and personalize your basket․ With each layer you add, your rope basket takes on a more defined and beautiful form․
Step 4⁚ Finishing Touches
Your rope basket is almost complete! Now it’s time to add those finishing touches that will elevate your creation from a simple storage solution to a stylish and functional piece of home decor․ These final steps are all about personalizing your basket and making it truly your own․
- Handles⁚ If you want to make your basket easier to carry, add handles․ You can use leather strips, rope, or even fabric scraps to create sturdy and stylish handles․ Secure them to the top of the basket with strong glue or stitching, ensuring they are evenly placed and comfortable to grip․
- Decorative Elements⁚ Let your creativity shine by adding decorative elements to your basket․ You can incorporate beads, buttons, tassels, or even small pieces of fabric to add a touch of color, texture, or whimsy․ Experiment with different combinations and placement to create a unique and personalized look․
- Dyeing⁚ For an extra touch of customization, consider dyeing your rope basket․ You can find natural dyes or use fabric paint to create a vibrant and eye-catching finish․ Be sure to follow the instructions carefully and allow the dye to dry completely before handling your basket․
With these finishing touches, your rope basket will be ready to showcase your style and personality․ Whether you use it to organize your belongings, display your favorite plants, or simply add a touch of rustic charm to your home, your handcrafted rope basket will be a cherished piece for years to come․
Variations and Ideas
Once you’ve mastered the basic rope basket technique, the possibilities for variations and creative explorations are endless! The beauty of this DIY project lies in its adaptability, allowing you to personalize your baskets to suit your style and specific needs․ Explore these exciting ideas to expand your rope basket repertoire⁚
- Shapes and Sizes⁚ Don’t limit yourself to traditional round baskets․ Experiment with different shapes like rectangular, oval, or even square baskets․ You can also adjust the size of your baskets to suit your storage needs, from small trinket holders to large laundry hampers․
- Rope Types⁚ Explore different rope types beyond cotton clothesline rope․ Jute rope provides a rustic and earthy look, while macrame cord offers a softer and more delicate feel․ You can even use recycled rope or old climbing rope to create unique and sustainable baskets․
- Color Combinations⁚ Embrace the opportunity to play with colors․ You can use different colored ropes to create stripes, patterns, or ombré effects․ You can also dye your rope after it’s woven to add vibrant hues to your basket․
- Functional Applications⁚ Think beyond traditional storage uses․ Create rope baskets for specific purposes, such as a plant hanger, a magazine holder, or a cozy pet bed․ Add a lining to your basket with a fabric that matches your decor or complements the basket’s design․

Let your imagination guide you as you experiment with these variations․ The possibilities are truly boundless!
Tips and Tricks
Crafting a beautiful rope basket is not just about following the steps, it’s also about incorporating some helpful tips and tricks along the way․ These insights can make your crafting journey smoother and ensure a stunning final product․
- Pre-Wash Your Rope⁚ Give your rope a quick wash before you start to remove any excess oils or chemicals that might affect its texture or color․ This will help you create a cleaner and more consistent basket․
- Start with a Tight Coil⁚ The foundation of your basket lies in a tight and secure coil․ Ensure the first few layers are tightly wrapped to create a sturdy base for your basket․
- Use a Sewing Machine⁚ While you can create a rope basket using glue, a sewing machine offers a more durable and aesthetically pleasing finish․ The stitches will keep your basket secure and prevent fraying․
- Practice Your Stitching⁚ If you’re new to sewing, practice your stitching on a scrap piece of fabric before tackling your basket․ This will help you get a feel for the machine and ensure your stitches are even and consistent․
- Don’t Be Afraid to Experiment⁚ The beauty of DIY rope baskets is that you can experiment with different techniques and styles․ Try adding embellishments like leather handles or fabric accents to personalize your basket․
- Embrace Imperfections⁚ Don’t strive for absolute perfection․ The imperfections in your rope basket will add character and charm to your handmade creation․
Remember, crafting a rope basket is an enjoyable process․ Embrace the tips and tricks, and let your creativity shine through!
Troubleshooting
Even the most experienced crafters can encounter bumps in the road when making a rope basket․ Here are some common challenges and solutions to help you navigate any obstacles and ensure a successful project⁚
- Uneven Stitching⁚ If your stitches are uneven, adjust the tension on your sewing machine․ Ensure that the fabric is feeding smoothly and that the needle is penetrating the rope and fabric evenly․
- Fraying Rope⁚ If your rope is fraying, use a fabric sealant or glue to secure the edges․ You can also try using a heavier weight rope that is less prone to fraying․
- Loose Coils⁚ If your coils are loose, try using a heavier weight rope or tightening your stitching․ Make sure the rope is wrapped tightly around the base of your basket․
- Difficulty Shaping the Basket⁚ If you’re struggling to shape your basket, try using a mold or a sturdy container to help you create the desired form․ You can also use a hot glue gun to secure the rope in place as you shape it․
- Sewing Machine Issues⁚ If your sewing machine is jamming or skipping stitches, make sure the needle is sharp and the bobbin is properly wound․ You may also need to adjust the stitch length or tension․
- Glue Gun Problems⁚ If your glue gun isn’t working properly, ensure that the glue stick is fully inserted and that the gun is heated to the correct temperature․ You may also need to clean the glue gun nozzle to prevent clogs․
Remember, patience and perseverance are key to troubleshooting any crafting project․ Don’t be afraid to experiment with different techniques and solutions until you find what works best for you․
Congratulations! You’ve now completed your very own rope basket, a unique and charming addition to your home․ Whether you’ve chosen a simple, classic design or experimented with different techniques and embellishments, you’ve created a piece that reflects your personal style and creativity․ The process of making a rope basket isn’t just about crafting a functional storage solution, it’s about embracing the joy of creating something with your own hands․
Remember, the beauty of rope baskets lies in their versatility․ Use them to organize your belongings, add a touch of rustic charm to your décor, or create a personalized gift for a loved one․ The possibilities are endless! And as you continue to explore the world of rope basket crafting, don’t hesitate to experiment with different rope types, colors, and sizes․ You might discover a hidden talent for creating beautiful and functional masterpieces․
So, go forth and let your creativity flourish as you continue to explore the world of rope baskets․ You’ll be amazed at the unique and beautiful creations you can make!


