Makeup for Pictures Tutorial⁚ A Comprehensive Guide
This comprehensive guide will walk you through the essentials of makeup for photos, from prepping your skin to setting your look for long-lasting perfection․ Learn how to choose the right products, master essential techniques, and discover the secrets to achieving picture-perfect results․ Whether you’re a seasoned makeup enthusiast or just starting out, this guide will provide you with the knowledge and inspiration to confidently enhance your beauty for any photo shoot․
The Importance of Makeup for Photos
In the realm of photography, makeup plays a pivotal role in enhancing your natural features and creating a captivating visual story․ Unlike everyday makeup, makeup for photos requires a different approach to ensure that your features translate beautifully on camera․ The camera’s lens can often flatten and dull the appearance of your makeup, making it essential to use techniques and products that will amplify your best features and create a striking visual impact․
Applying makeup strategically for photos allows you to accentuate your eyes, sculpt your cheekbones, and define your lips, ensuring that your most prominent features stand out․ Moreover, using the right foundation and setting techniques can create a flawless complexion that radiates luminosity and hides any imperfections․ By mastering the art of makeup for photos, you can transform your look from ordinary to extraordinary, capturing your best self in every frame․
Remember, makeup for photos is not about concealing your natural beauty but rather about enhancing it․ With the right techniques and products, you can achieve a look that is both flattering and timeless, allowing you to shine in every photo․
Prepping Your Skin for Picture-Perfect Makeup
A flawless canvas is the foundation for any stunning makeup look, and this is especially true for photos․ Before applying any makeup, it’s essential to prep your skin properly, creating a smooth, hydrated base that will allow your makeup to adhere evenly and last throughout the shoot; Start by cleansing your face with a gentle cleanser to remove any dirt, oil, or makeup residue․ Follow with a hydrating toner to balance your skin’s pH and prep it for the next steps․
Next, apply a moisturizer that suits your skin type․ For dry skin, opt for a rich, creamy moisturizer, while oily skin might benefit from a lightweight, oil-free formula․ Allow the moisturizer to absorb completely before moving on to the next step․ If you have any blemishes or uneven skin tone, consider using a color-correcting primer to neutralize redness or discoloration․ This will create a more even base for your foundation․
Finally, apply a primer to create a smooth, even surface for your makeup․ A primer helps to minimize the appearance of pores, fine lines, and wrinkles, while also helping your makeup to stay in place for longer․ Now that your skin is prepped and ready, you can move on to the next stage of your makeup application, confident that your foundation will look flawless and your makeup will last throughout the photo shoot․
Choosing the Right Foundation for Photos
Selecting the right foundation for photos is crucial for achieving a flawless finish that translates beautifully on camera․ Unlike everyday makeup, foundation for photos needs to be long-lasting, full-coverage, and able to withstand the scrutiny of a camera lens․ Opt for a foundation with a matte or satin finish, as these finishes tend to photograph better than dewy or shimmery formulas․ Avoid foundations with heavy, thick textures, as these can appear cakey or unnatural in photos․
When choosing your foundation shade, it’s essential to find a perfect match for your skin tone․ You can test the foundation on your jawline or the inside of your wrist in natural daylight to ensure a seamless blend․ Remember that flash photography can make your skin appear lighter, so it’s generally better to err on the side of a slightly darker shade․ If you have any uneven skin tone or blemishes, consider using a concealer to spot-treat these areas before applying foundation․
Once you’ve chosen your foundation, apply it using a brush or sponge, blending it out carefully to ensure a natural, even finish․ Don’t forget to blend the foundation down your neck and onto your ears to avoid any noticeable lines or color discrepancies․ By carefully choosing the right foundation and applying it expertly, you can create a flawless canvas that enhances your natural beauty and ensures a stunning look for your photos․

Mastering the Art of Contouring and Highlighting
Contouring and highlighting are essential makeup techniques for creating dimension and definition in photos․ They help to sculpt the face, enhance features, and create a more flattering look․ Contouring involves using a darker shade to create shadows and define the cheekbones, jawline, and nose․ Highlighting, on the other hand, uses a lighter shade to emphasize and brighten the high points of the face, such as the brow bone, cheekbones, and cupid’s bow․
For contouring, choose a matte bronzer or contour powder that is one to two shades darker than your skin tone․ Apply it to the hollows of your cheeks, along the jawline, and down the sides of your nose․ Blend the contour with a brush or sponge, ensuring a seamless transition with your foundation․ For highlighting, opt for a shimmery or satin highlighter that complements your skin tone․ Apply it to the tops of your cheekbones, brow bone, cupid’s bow, and the center of your forehead․ Blend the highlighter with a brush or sponge, creating a soft, luminous glow․
When contouring and highlighting for photos, remember to be subtle․ The goal is to enhance your features, not create a dramatic or unnatural look․ Use a light hand and blend carefully to ensure a natural and flattering finish․ With practice, you’ll master the art of contouring and highlighting, achieving a sculpted and radiant look that photographs beautifully․
Eye Makeup Techniques for a Striking Look
Eye makeup plays a crucial role in creating a captivating look in photos․ Whether you prefer a natural or dramatic effect, the right techniques can enhance your eyes and make them pop․ For a natural look, start with a neutral eyeshadow palette and apply a light shade all over the lid․ Define the crease with a slightly darker shade, blending it softly for a subtle contour․ Use a black or brown eyeliner to line the upper lash line, creating a thin, defined line․ Finish with a coat or two of mascara, focusing on the outer corners of your lashes for added definition․
If you’re going for a more dramatic look, experiment with bolder eyeshadow colors and techniques․ Try using a shimmery or metallic eyeshadow on the lid, blending it out towards the crease․ Apply a darker shade in the crease and along the outer corners of your eyes, creating a smoky effect․ Use a winged eyeliner for a glamorous touch, extending the line beyond the outer corner of your eye․ Apply several coats of mascara to create volume and length, and consider using false lashes for a truly dramatic effect․
Remember, when applying eye makeup for photos, it’s essential to choose colors and techniques that complement your eye color and skin tone․ Practice different looks and find what flatters you best․ With a little experimentation and practice, you’ll master the art of eye makeup and create stunning looks that will translate beautifully in photos․
The Power of Blush and Bronzer
Blush and bronzer are essential tools for adding warmth, dimension, and a natural glow to your makeup look in photos․ Blush brings life to your cheeks, creating a healthy flush that enhances your natural beauty․ Choose a shade that complements your skin tone and apply it to the apples of your cheeks, blending upwards towards your temples․ For a more subtle effect, use a light hand and blend thoroughly․
Bronzer adds warmth and definition to your face, mimicking the natural sun-kissed glow․ Apply it to the hollows of your cheeks, along your jawline, and on the sides of your forehead, blending carefully to avoid harsh lines․ Bronzer can also be used to contour your nose and create a more defined look․
When applying blush and bronzer for photos, it’s important to consider the lighting conditions․ If you’re shooting outdoors in natural light, use lighter shades and blend them well to avoid looking overly made-up․ In indoor lighting, you can use slightly bolder shades and create more defined contours․ Remember, less is more, so start with a light application and build up the color gradually․
With the right application of blush and bronzer, you can achieve a natural, radiant glow that will look stunning in photos․ Experiment with different shades and techniques to find what works best for you and create a look that enhances your natural beauty․
Lip Makeup for a Flawless Finish
Lip makeup plays a crucial role in completing your picture-perfect look, adding a touch of color and definition to your overall appearance․ When choosing a lipstick for photos, consider the lighting conditions and the overall vibe you want to achieve․ For natural light, opt for softer shades that complement your skin tone, while for indoor lighting, you can experiment with bolder colors․
Matte lipsticks are generally favored for photos as they tend to photograph better than glossy formulas․ However, if you prefer a glossy look, choose a lipstick with a subtle sheen that won’t reflect too much light․ Before applying lipstick, use a lip liner to define your lips and prevent feathering, especially for bolder shades․

To ensure your lipstick stays put throughout the shoot, apply it in thin layers, allowing each layer to set before applying the next․ You can also use a lip brush for more precise application and a lip liner to prevent bleeding․ Blot your lips with a tissue to remove any excess product and set your lipstick with a light dusting of translucent powder․
Consider using a lip balm before applying lipstick to keep your lips hydrated and prevent dryness, which can be accentuated in photos․ With the right lip makeup, you can achieve a flawless finish that will enhance your smile and add a touch of elegance to your overall look․
Setting Your Makeup for Long-Lasting Perfection
Setting your makeup is crucial for achieving a long-lasting, flawless look that will withstand the demands of a photoshoot․ A well-set makeup application ensures that your foundation, concealer, and other products stay in place, preventing creasing, smudging, and fading throughout the day․
Start by applying a translucent setting powder to your entire face, focusing on areas prone to shine, such as the T-zone․ Choose a powder that is finely milled and matches your skin tone to avoid a chalky or powdery finish․ Lightly dust the powder over your face using a large, fluffy brush, blending it seamlessly into your foundation․
For areas that need extra hold, like around the eyes and nose, you can use a setting spray․ Hold the spray about 8-10 inches away from your face and mist it evenly over your entire face, avoiding direct contact with your eyes․ Allow the spray to dry completely before touching your face․
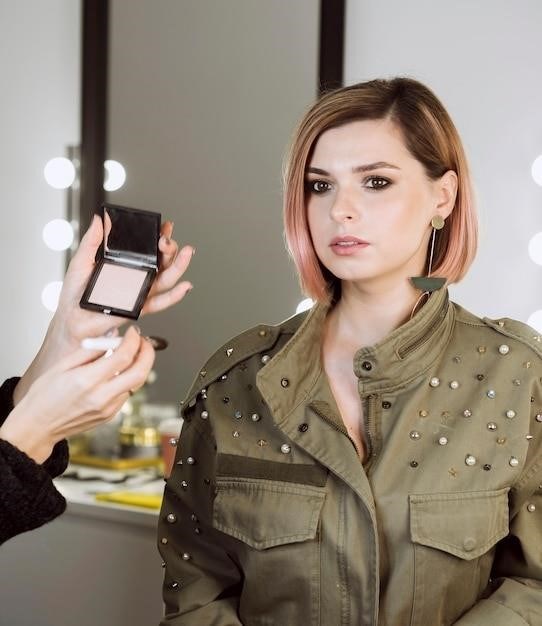
If you are using a flash, you may need to touch up your makeup throughout the shoot․ Keep a small compact of powder and a setting spray on hand for quick touch-ups․ Remember, a well-set makeup look will ensure that you look your best for every shot․
Essential Tools for Makeup Application
Investing in the right tools can significantly elevate your makeup application skills and ensure a flawless, professional finish․ A well-stocked makeup kit is an essential investment for anyone who wants to achieve picture-perfect results․
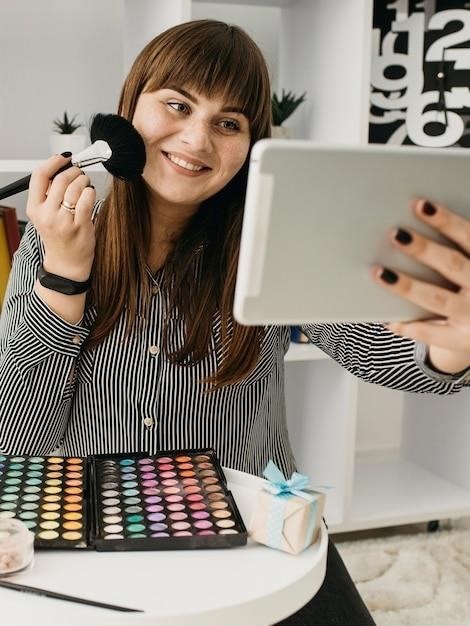
Start with a set of high-quality brushes․ Choose brushes with soft, synthetic bristles that are designed for specific purposes․ A foundation brush, powder brush, contour brush, blending brush, and eyeshadow brushes are essential for achieving smooth, even application․
A makeup sponge is also a valuable tool for blending foundation, concealer, and other cream products․ Choose a sponge that is soft and absorbent, and dampen it with water before use․ This will help to create a seamless, airbrushed finish․
For precise application of eyeliner and lipstick, consider using a set of small, angled brushes․ These brushes will help you to create clean lines and sharp edges․ Remember, the right tools will make all the difference in achieving a professional-looking makeup application for your photoshoots․


